The ASUS TUF X299 Mark I Motherboard Review: TUF Refined
by Joe Shields on December 6, 2017 9:30 AM EST- Posted in
- Motherboards
- Asus
- TUF
- X299
- Skylake-X
- Kaby Lake-X
BIOS
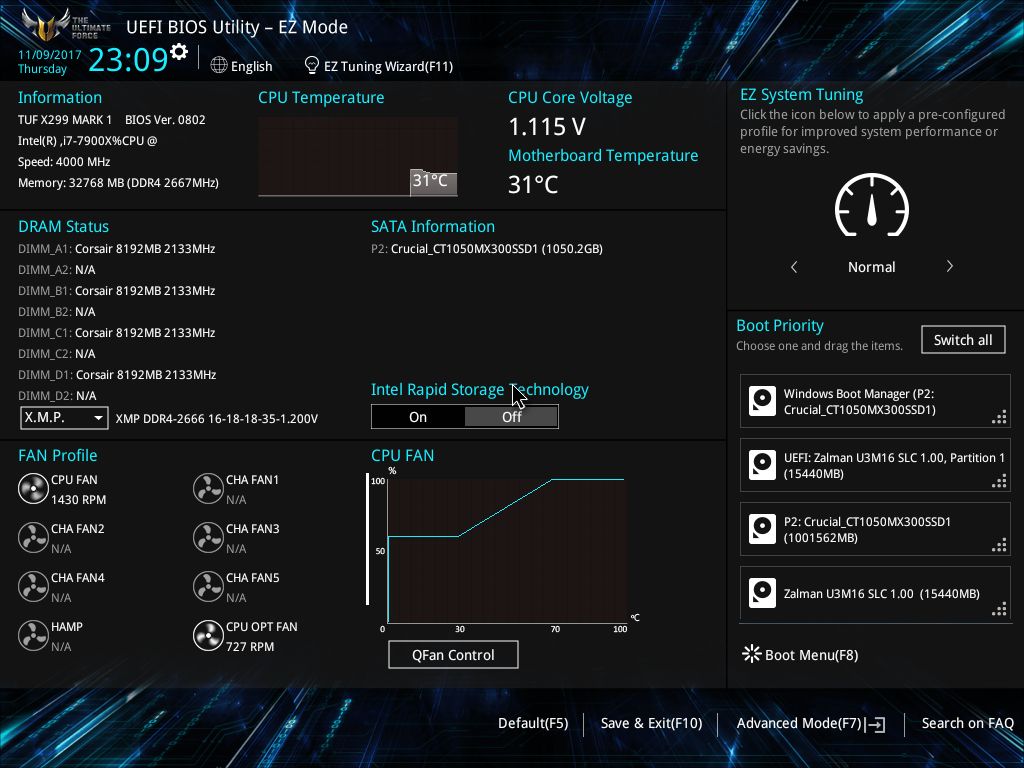
Our first glimpse of the ASUS TUF X299 Mark 1's BIOS (v. 0802) brings us to an EZ Mode Screen as the landing page. These screens give users a high-level view of the system and are allowed to change a few options. In this case, we see CPU and Memory type, temperature, the status of fans attached to the onboard headers with access to QFan, boot priority (adjustable), and EZ System Tuning.
Using the EZ System Tuning and changing it to the 'Extreme Tuning' option yields a single core overclock of 4.6 GHz with an all core overclock of 4.4GHz. Voltage was set to 1.30V which overshoots what this specific CPU needs by around .15V. With our cooling and that voltage, we nearly hit 100C with multi-threaded testing (POVRay) so where it landed would not work without a better cooling solution. A beefier radiator or a delid would likely be useful in this case.
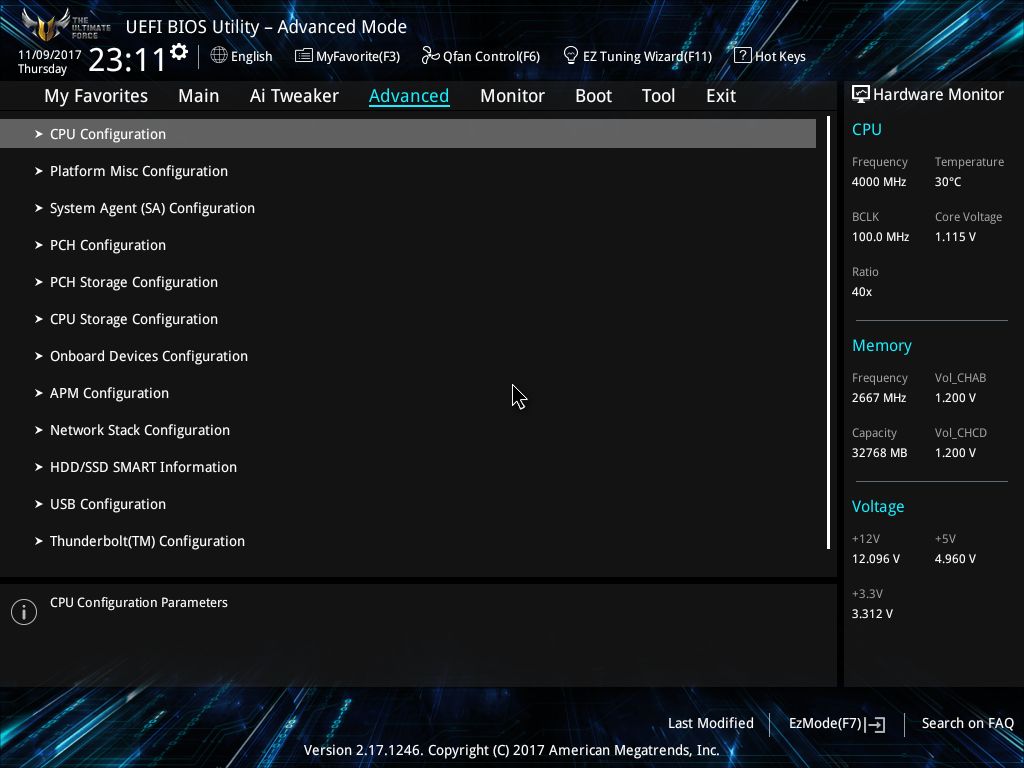
Pressing F7 will drop us into the Advanced version of the BIOS where it shows all the options across the top. ASUS has a My Favorites section which has a lot of frequently used features from different sections all under one menu. Users are also able to customize the My Favorites section to their liking. The first screen we see when entering advanced mode is the Main screen. Here it gives high-level information about the BIOS, CPU, Memory, as well as the date/time. The only option one can adjust is the System Language.

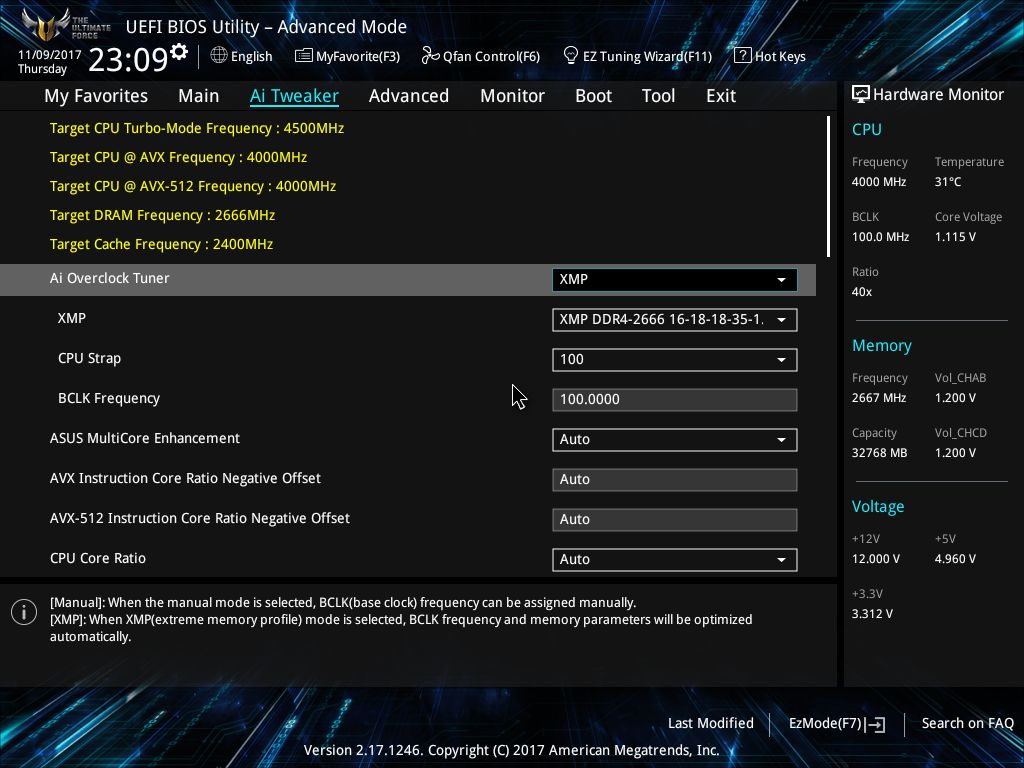
Sliding on over to the Ai Tweaker screen, this is where overclockers will spend most of their time tweaking their overclocks. The first option is the Ai Overclock Tuner which allows users to set XMP on their memory, or go into manual mode where BCLK can be assigned manually. When using the XMP setting, the ASUS BIOS will ask if "...you would like to apply the all core enhancement with the XMP settings for improved performance". Essentially, it is another way to enable MultiCore Enhancement and syncronizes cores to one multiplier instead of using the default Intel method of stepping downclocks when cores are used concurrently.
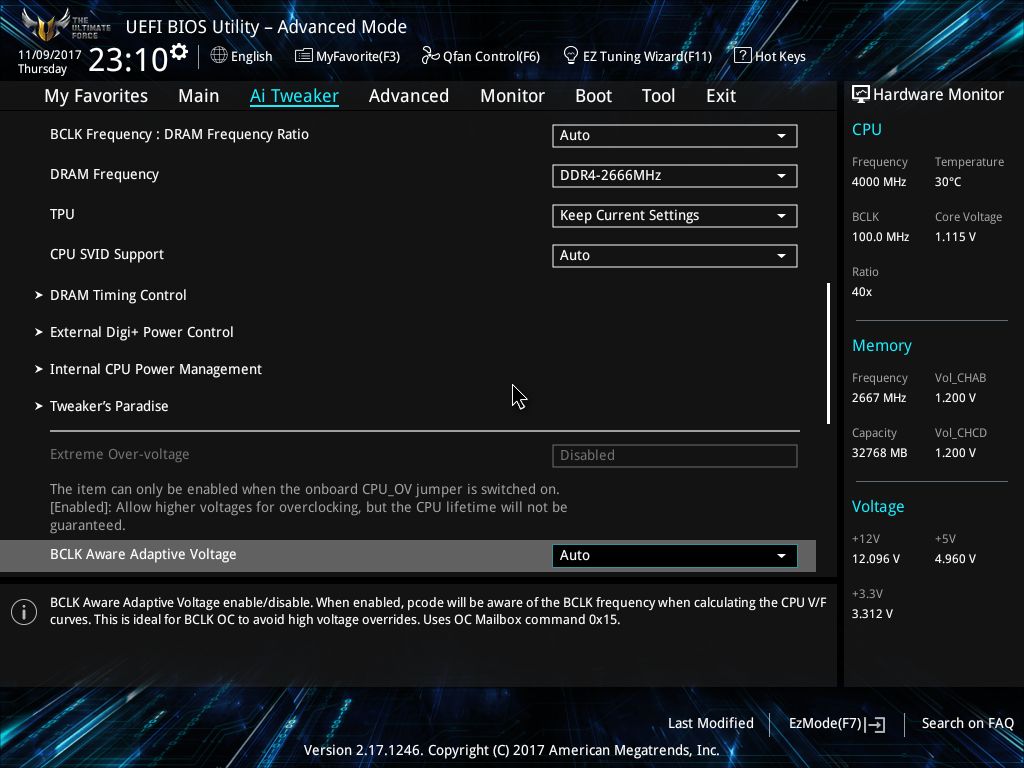
DRAM Timing Control, where all memory timings can be adjusted, is found a bit down the page along with the External Digi+ Power Control for LLC, VRM, CPU Power Phase and thermal controls. The Internal CPU Power Management section gives options for enabling/disabling Speedstep, adjusting power limits, and VR fault management. Most will not need to play around inside the Internal CPU Power section unless they are really pushing the overclocks.
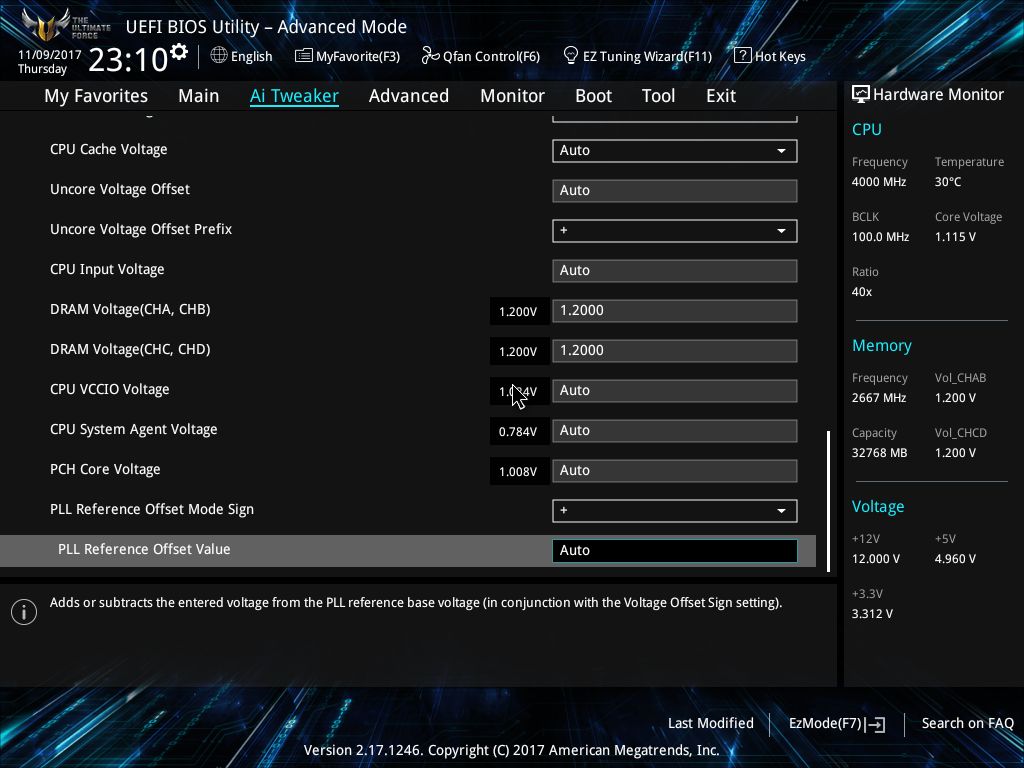
The last screen we are showing in Ai Tweaker is where users can see the current voltage for the major domains as well as adjust them.
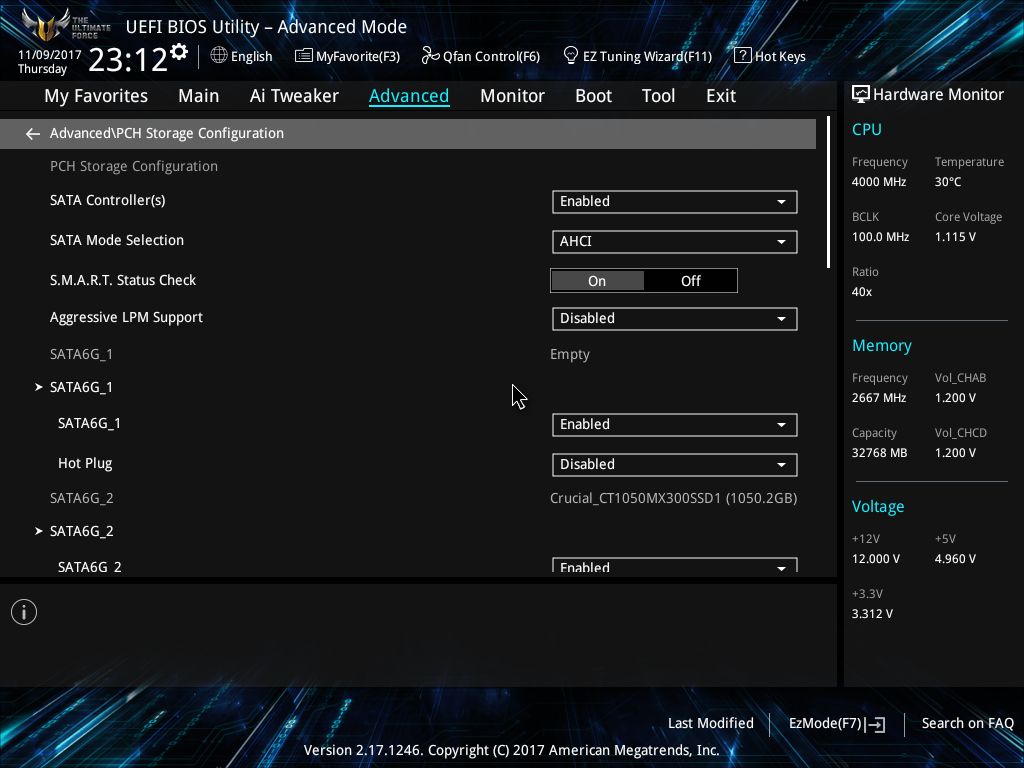
The Advanced Section is where users will be able to enable/disable and configure items such as your PCIe lane control, adjustments for the PCH such as enabling or disabling SATA controllers, Audio, USB, RGB lighting, as well as LAN and Wi-Fi.

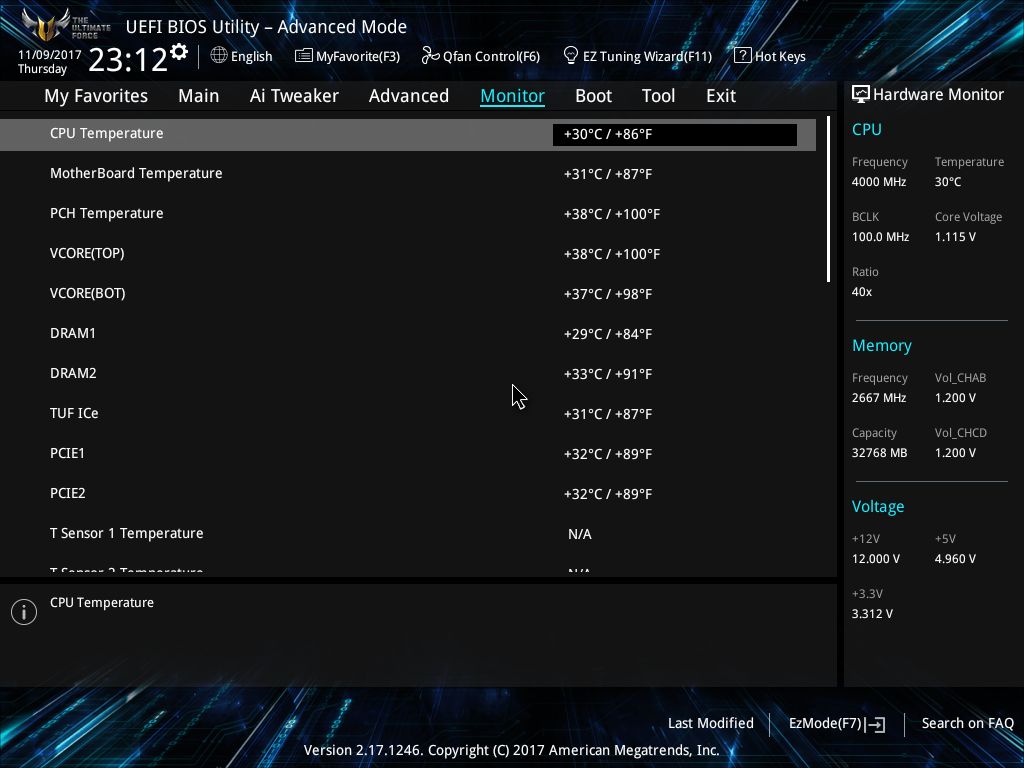
Next is the Monitor section. Here you will get a 'state of the union' on system temperatures from the CPU and motherboard, to the DRAM and PCIe area among others. Each sensor has an option to be monitored or ignored. Towards the bottom of this section is where any fan speed adjustments will be made via their Q-Fan functionality. The ASUS software can test the abilities of attached devices and select thresholds once it 'learns' the capabilities of the attached fans/pumps.
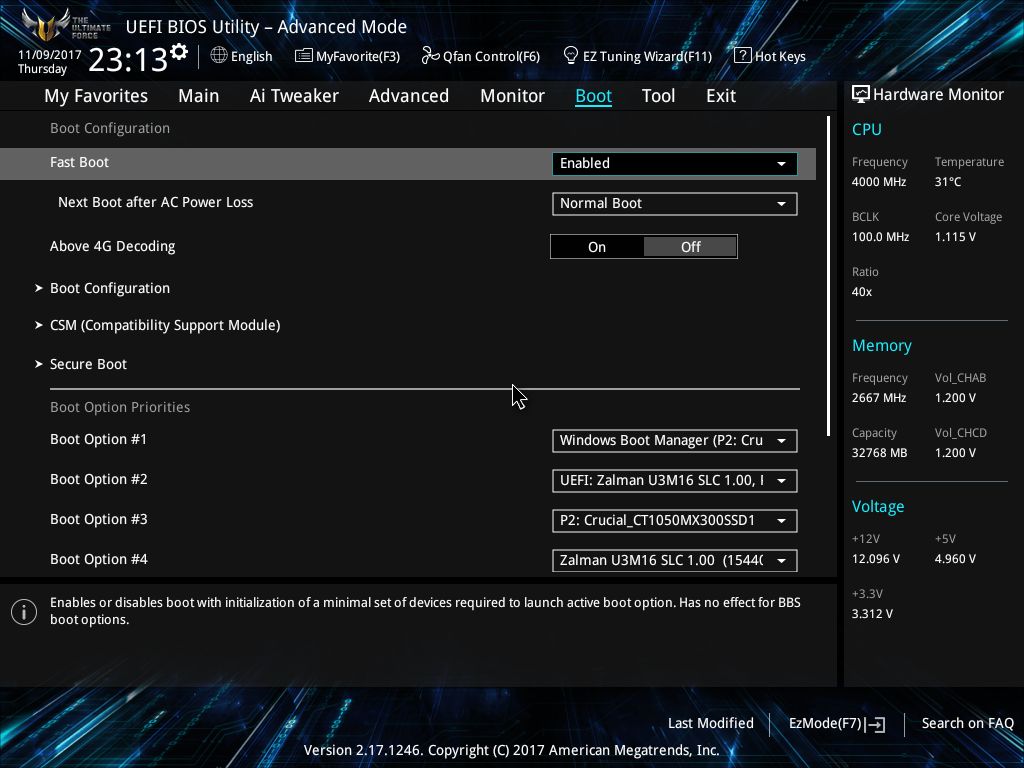
The Boot section does is where users are able to adjust boot order, boot speed, and force a specific device with boot override.
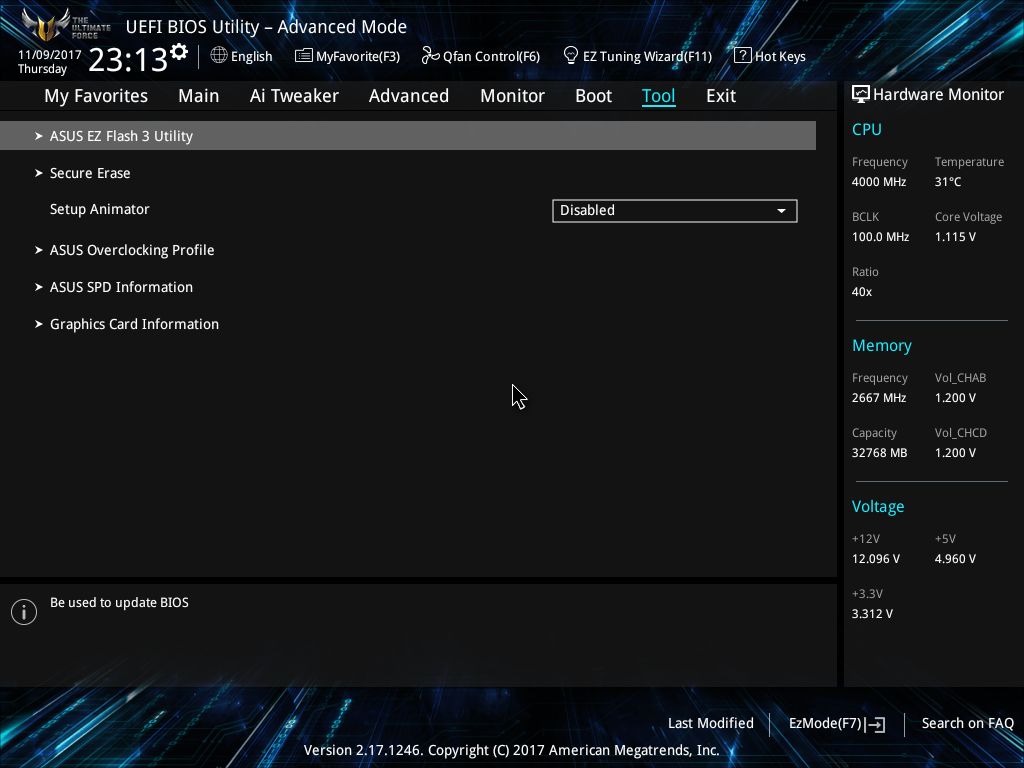
The Tool section holds a couple useful utilities with the first being ASUS EZ Flash 3 Utility. This utility is what will be used to update the BIOS on the board. Next is a Secure Erase functionality for wiping SSDs to their factory fresh state. ASUS Overclocking profiles should be self-explanatory as to what that is. Last, ASUS SPD and Graphics card information reads from the installed DRAM modules and video card and gives information on what is installed. In the case of the Graphics Card Information, when using the ASUS Strix GTX 980 it shows clock speeds, GPU voltage, and temperature, as well as memory size and type. The SPD information for the DRAM modules is read from the sticks themselves.
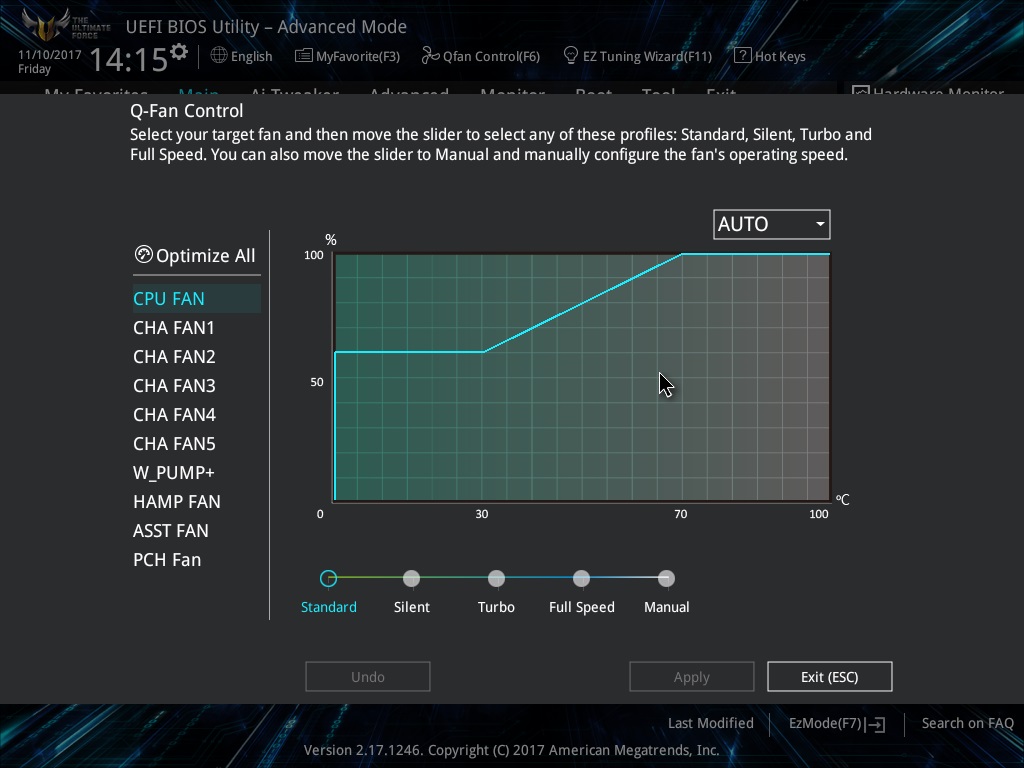
Last is a screenshot of the Q-Fan control for adjusting fans or pump on the headers. There are pre-defined curves as well as being able to set the curve manually. All headers are of the hybrid variety and support both DC and PWM control (with some caveats discussed a bit later).


Software
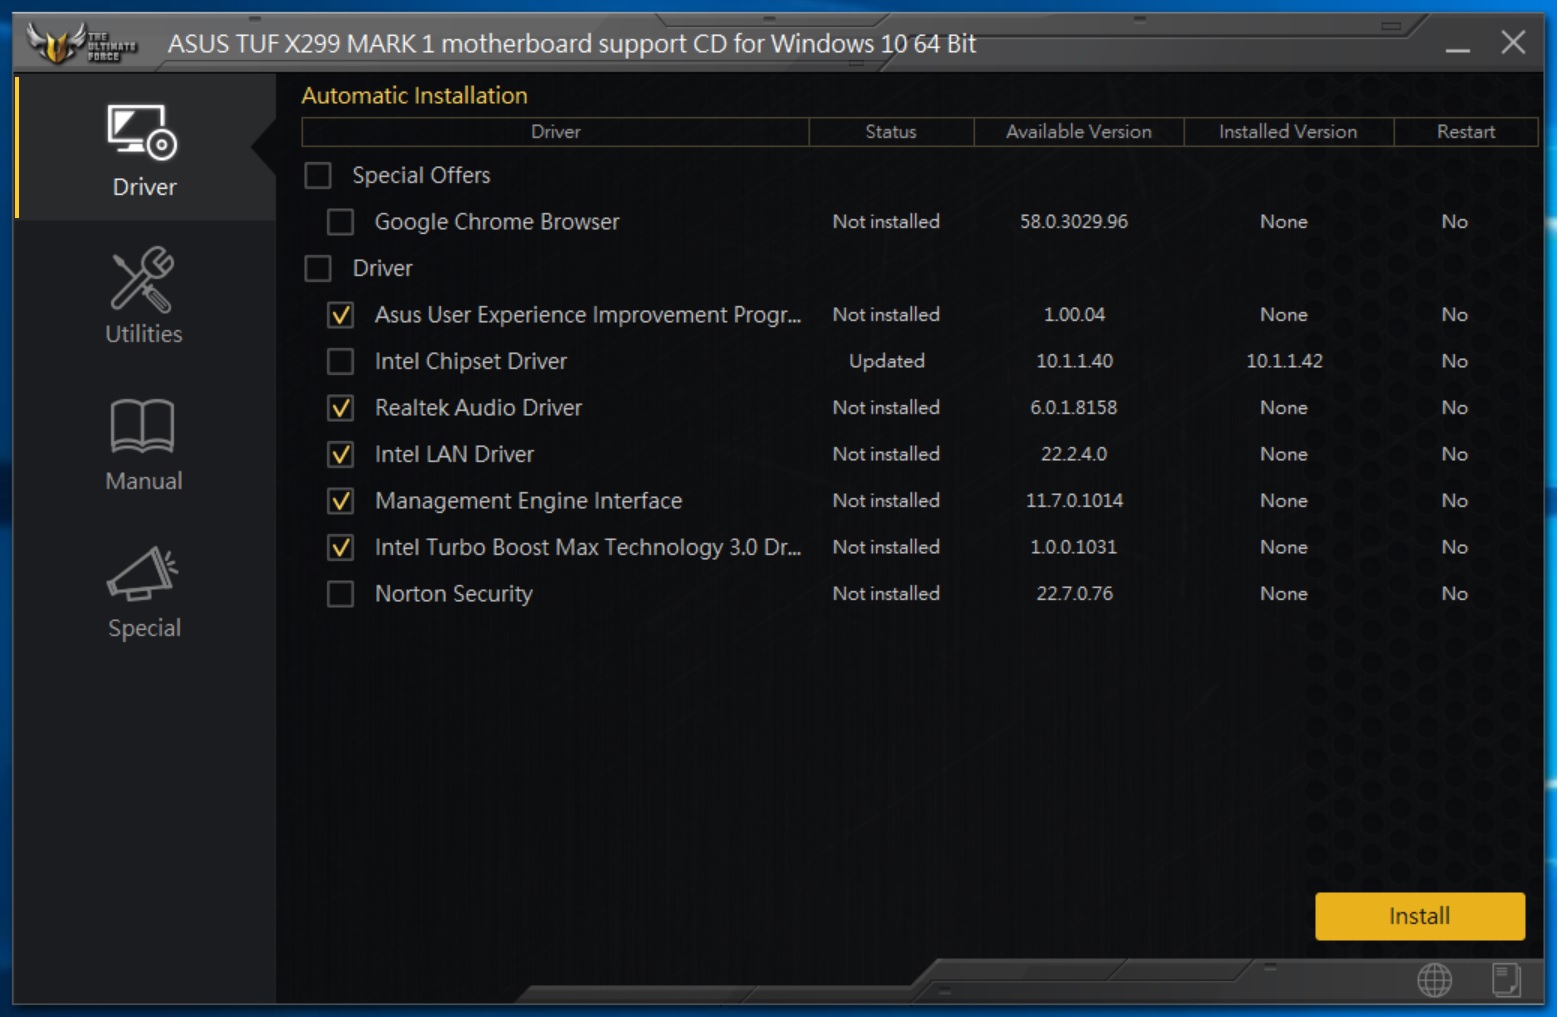
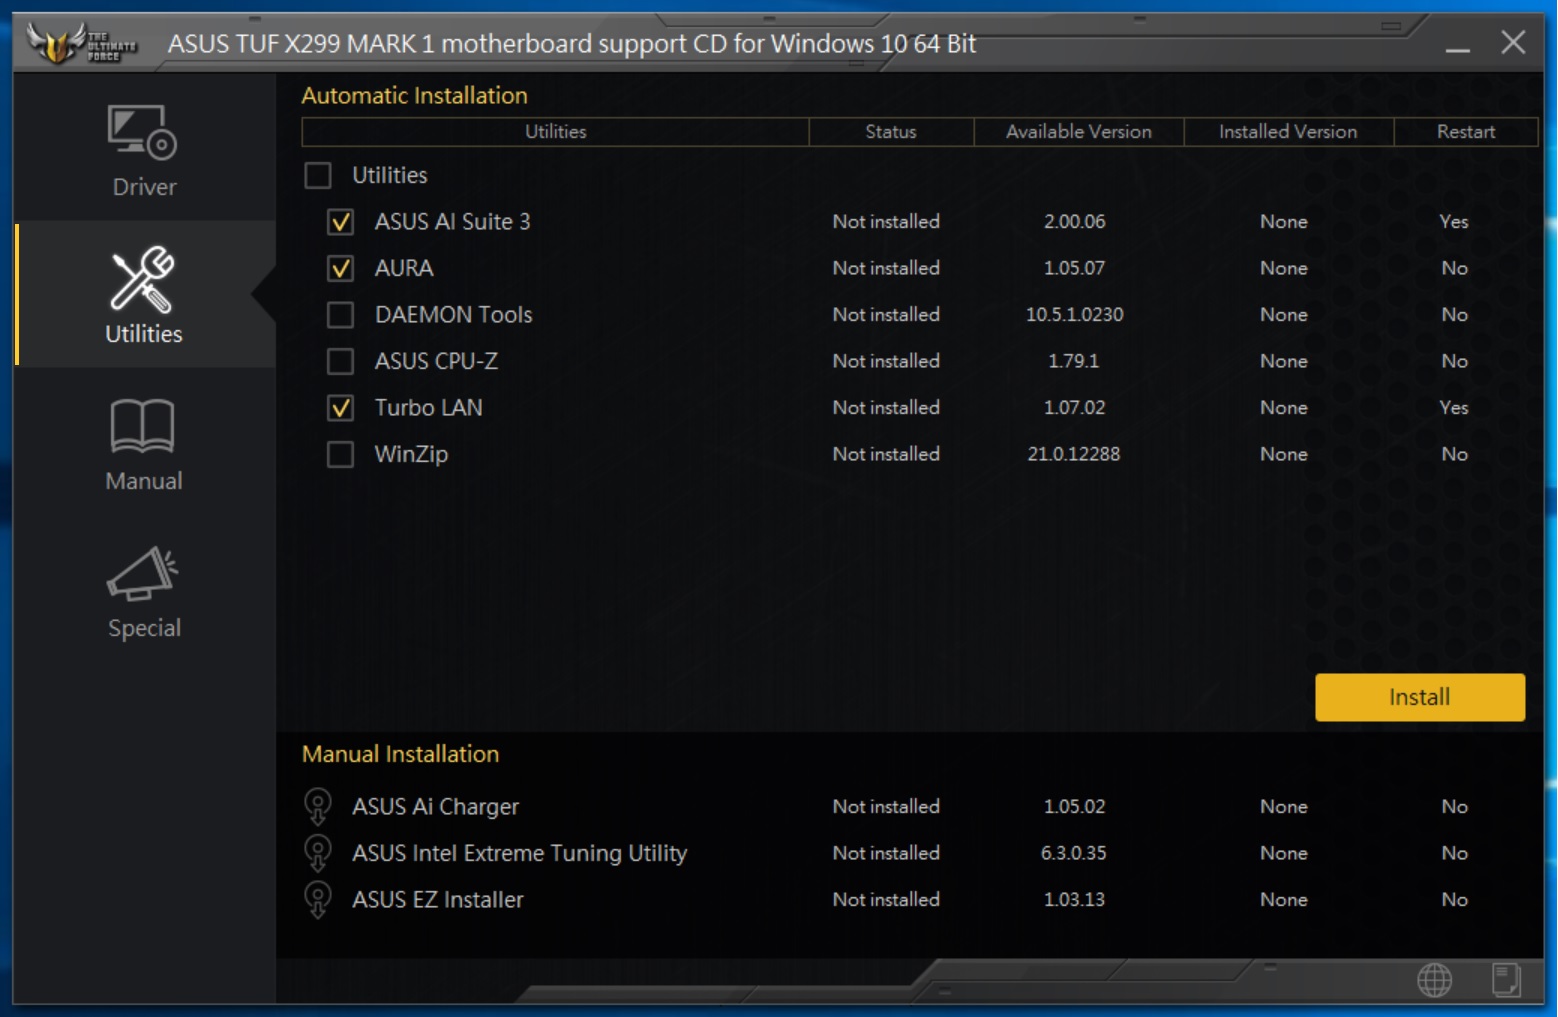
The first piece, or pieces, of software comes from the included support CD. The driver section will give users the option to install multiple drivers including the Intel Chipset driver and Management Interface, Realtek Audio, Intel LAN, Intel Turbo Boost Max, as well as Google Chrome Browser and Norton Security. The Utilities section offers options for ASUS AI Suite 3, AURA RG, Daemon Tools, an ASUS skinned CPU-Z, Turbo LAN, and WinZip. The manual and other documents are also stored on this disc. As far as function goes, I installed what you see below using the tool and it went without a hitch.
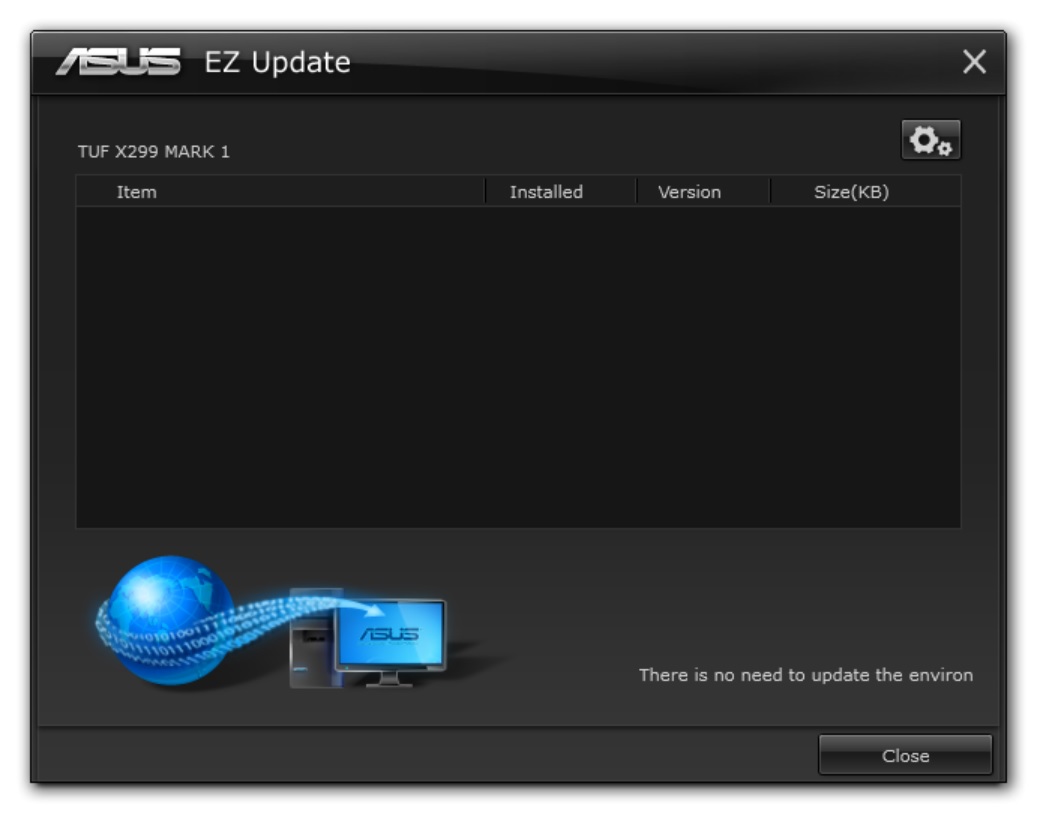
ASUS also has an EZ Update application where users are able to reach out to the web and check for new versions of their installed software. In our case, this was captured after I installed the latest versions so nothing showed up in the query.
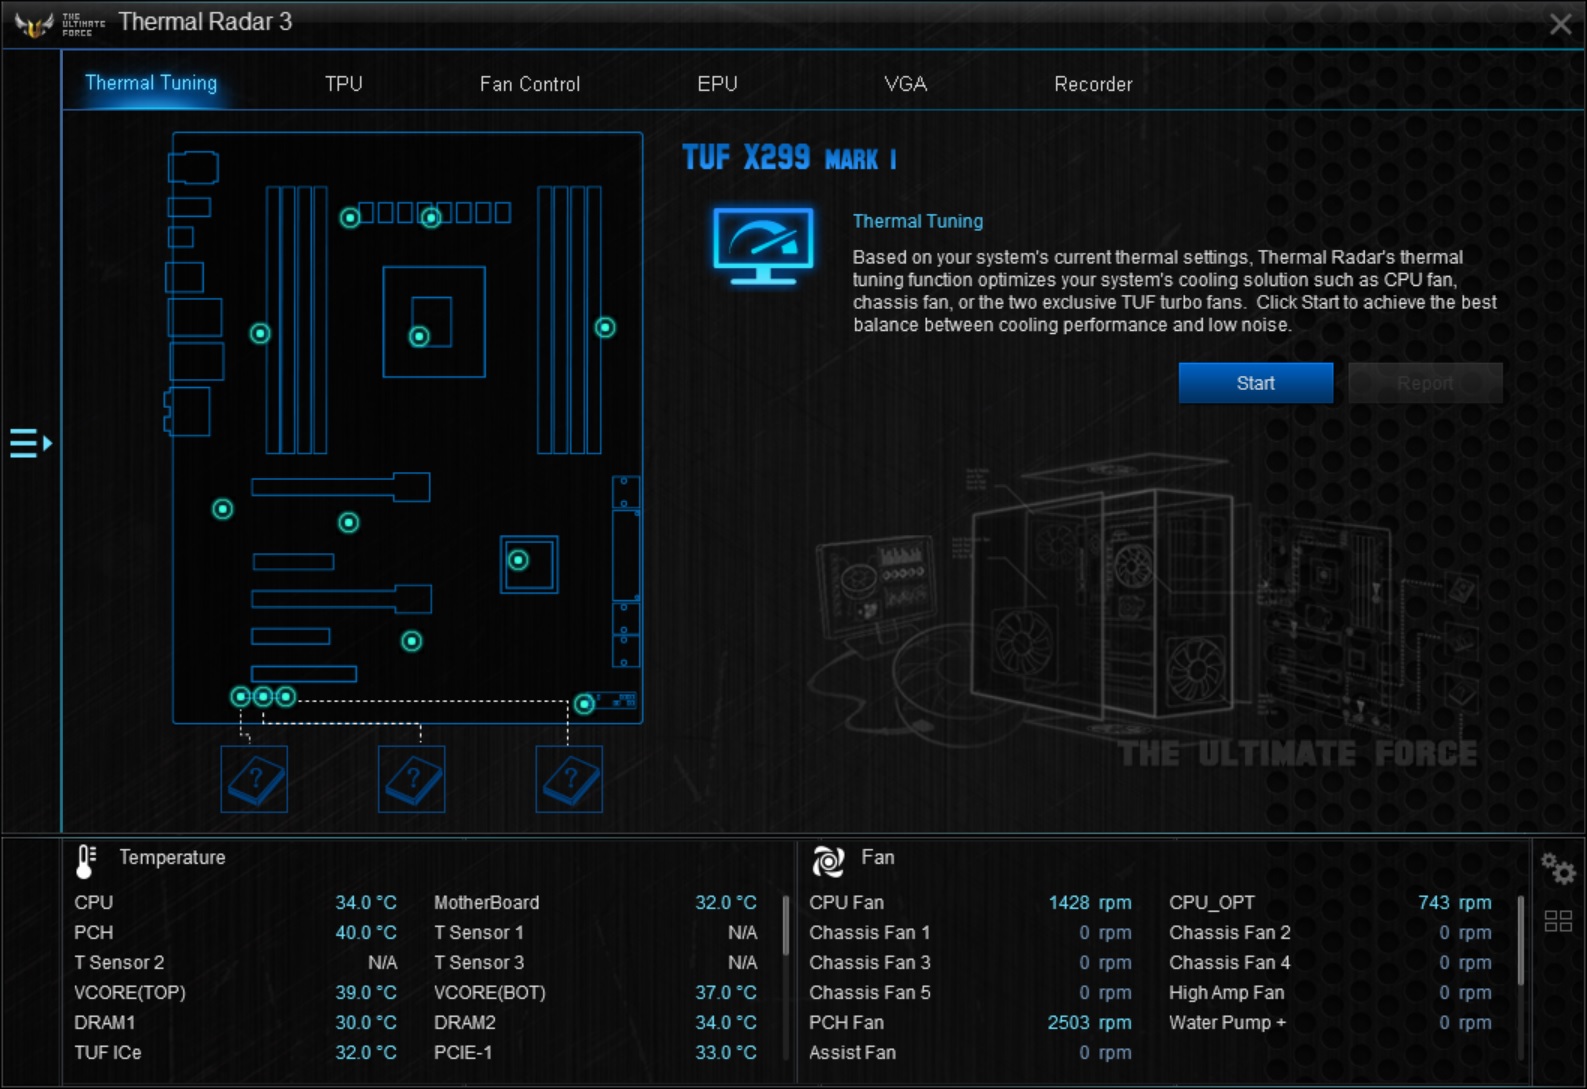
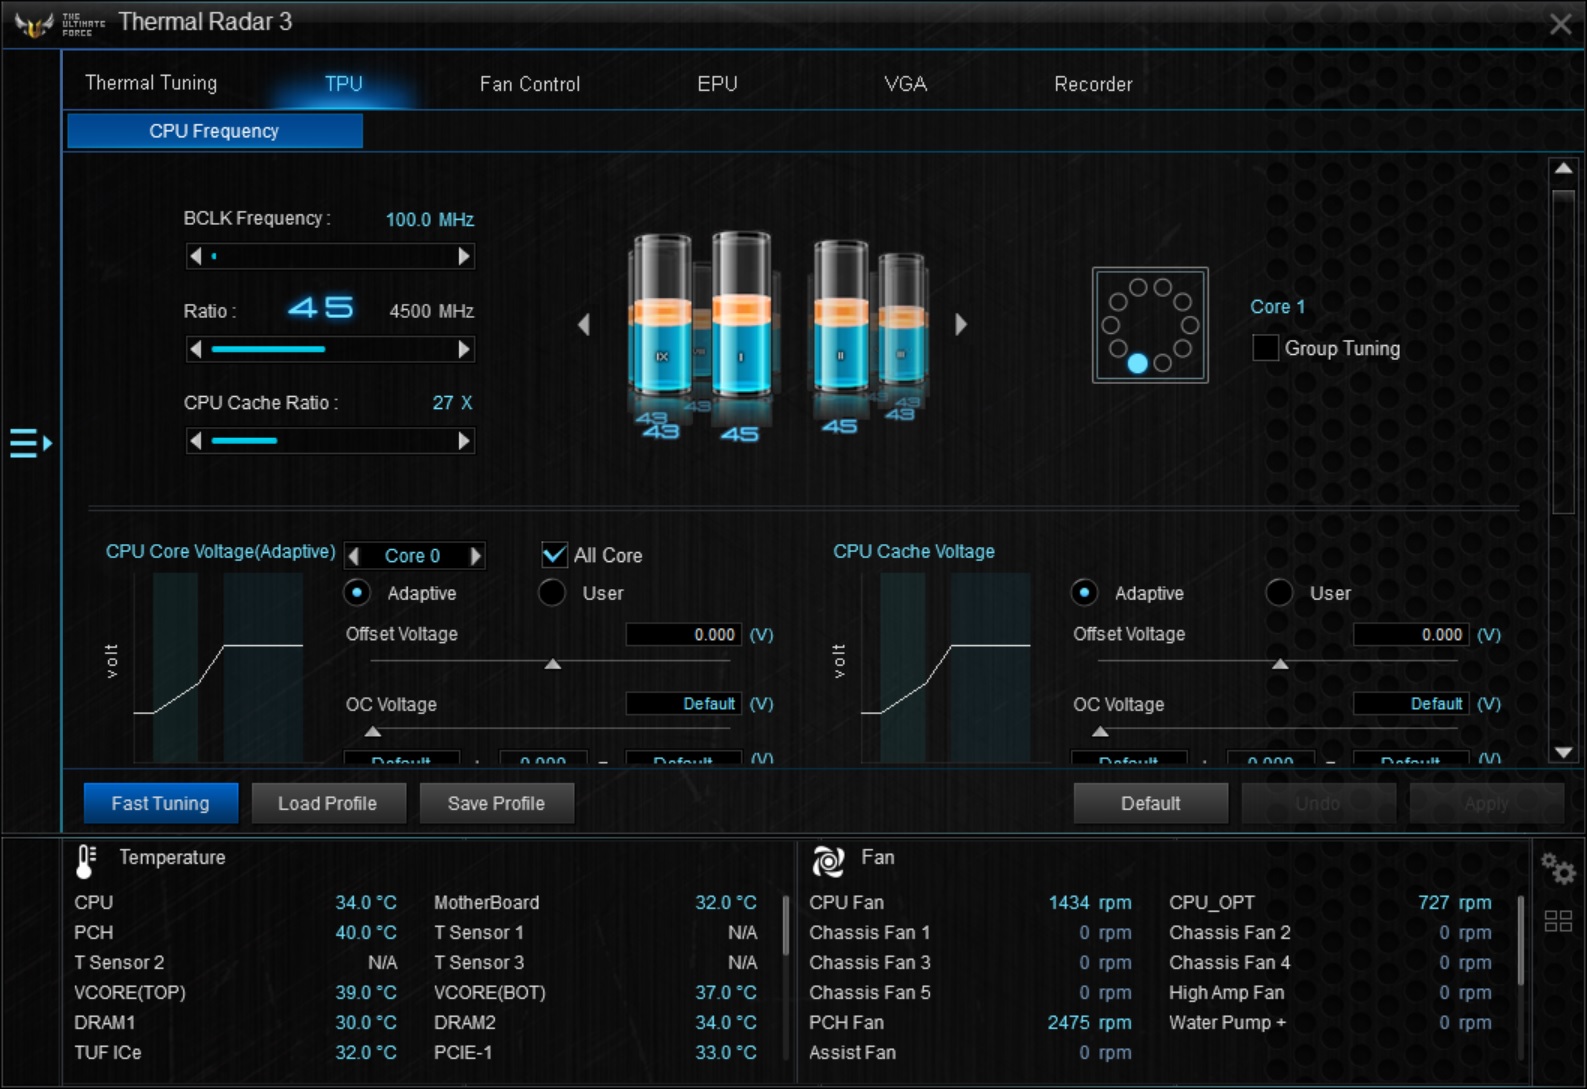
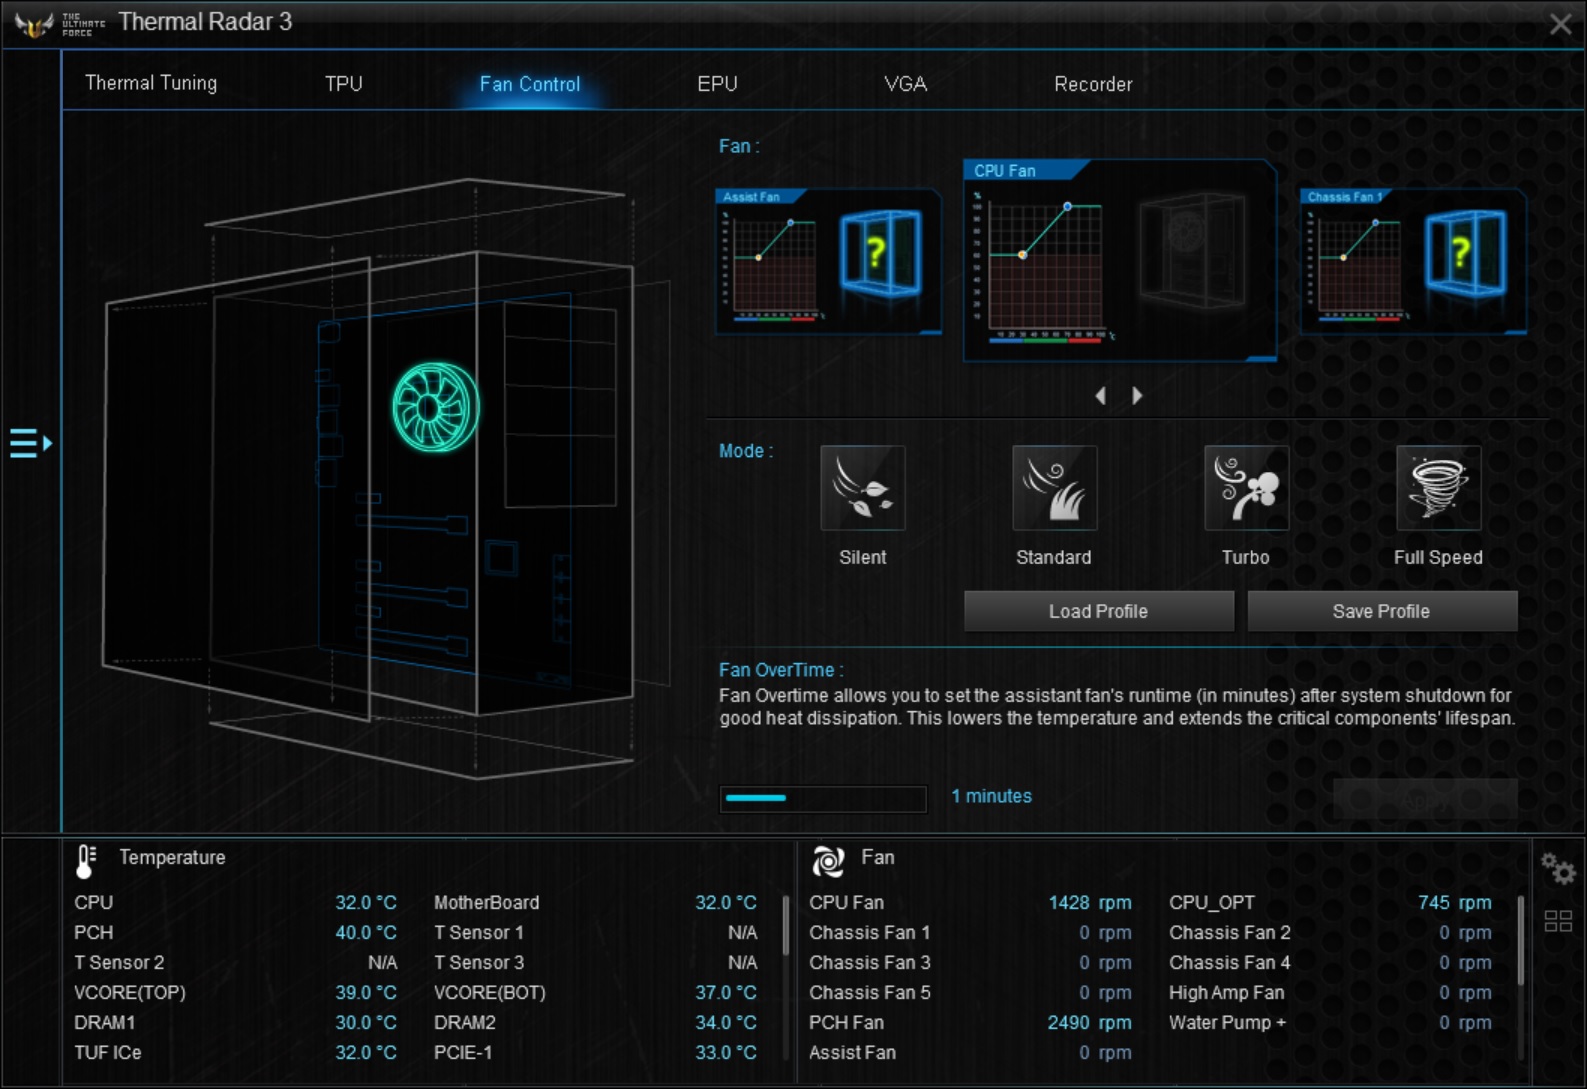
The TUF comes with ASUS' Thermal Radar 3 application. This comprehensive software is able to monitor the board's many onboard sensors, adjust clock speeds and voltages for overclocking, control fans, and EPU for power saving adjustments. The Recorder heading is a monitoring section showing graphs of CPU Core Voltage, PSU rails, System Temperatures as well as fan speeds. Overall a fairly comprehensive product. In my limited use with it, I did not run into any quirks.
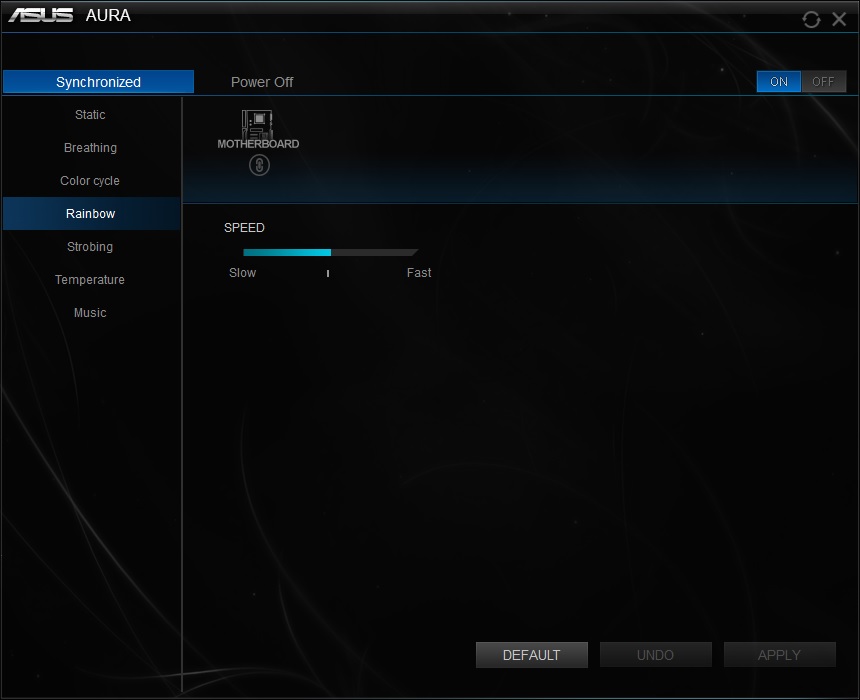
For controlling any RGBs, ASUS has their AURA software with seven different modes as well as speed adjustment for each. RGB LEDs can be synchronized or run independently.
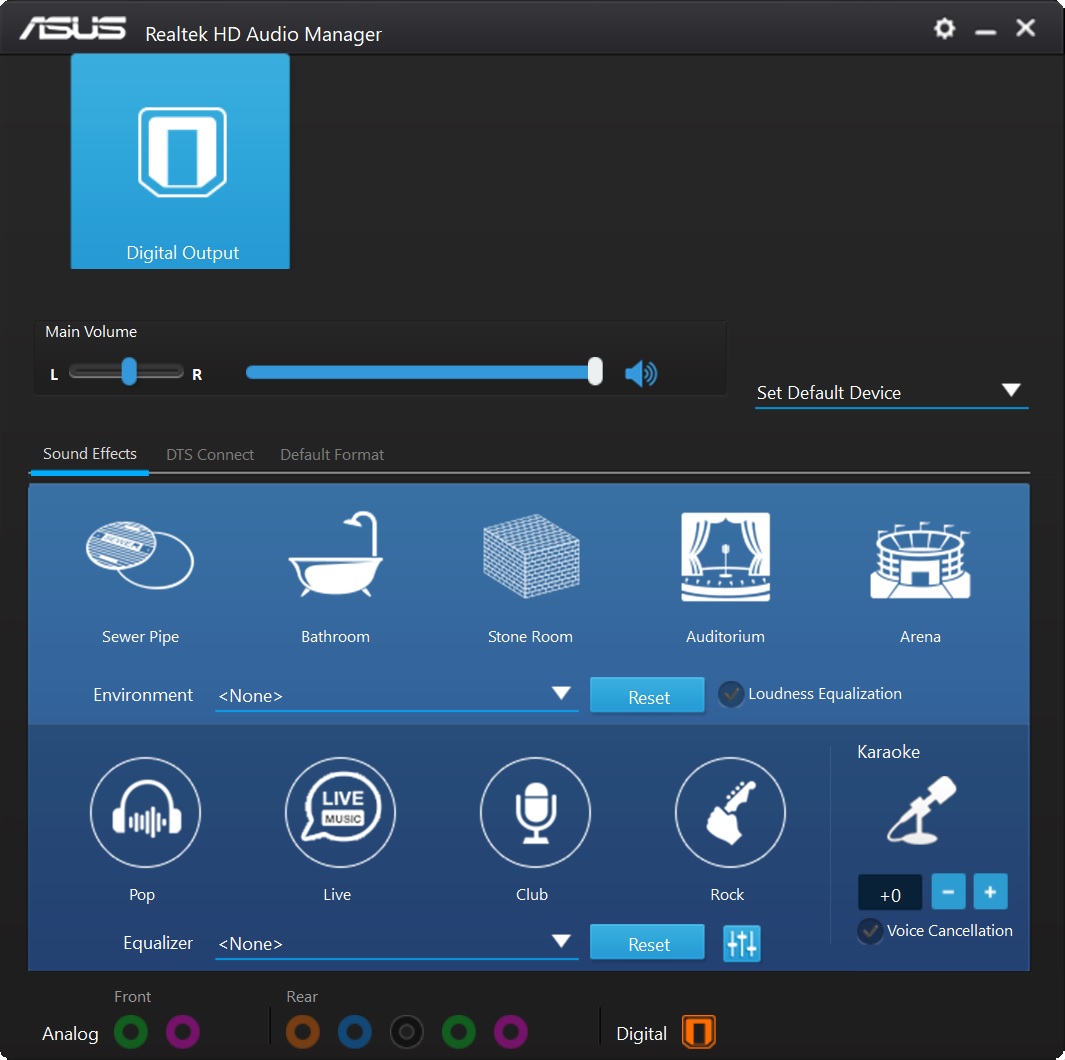
The TUF X299 Mark 1 uses a Realtek ALC1220 codec as well as its software for sound manipulation. It supports DTS as well and includes a small footprint application for making adjustments to it.

ASUS also has network monitoring and manipulation software named Turbo LAN. This software suite is able to display current network activity as well as shaping traffic by prioritizing programs via a slider. There are also more advanced functions (see gallery), cFoS speed tests, and a monitoring graph.


15 Comments
View All Comments
DanNeely - Wednesday, December 6, 2017 - link
Why are you only reporting on non-UEFI post times?takeshi7 - Wednesday, December 6, 2017 - link
TUF motherboards should NOT have any electrolytic caps. The whole reason I bought my TUF motherboard was for the all solid-state caps. Asus please stop with this crap. I don't care about "Nichicon gold" audio capacitors. If I did I would buy one of your other boards like ROG. It doesn't make a big enough difference to justify the shorter lifespan, and anyone who cares about audio will have an external amp/DAC anyways.tphb - Wednesday, December 6, 2017 - link
It looks like a very nice board, but I still don't understand the need for "durable". You're going to put it in a case, right? One that has mounting screws to keep the board straight and one that keeps rocks from randomly flying up to hit the PCI-E mount surround. So why do you need all the extra plastic? It creates heat challenges (that require a fan) for no real benefit.BreakArms - Wednesday, December 6, 2017 - link
The original TUF Sabertooth back with the X58 chipset had a 5 year warranty and their marketing targeted "Military grade" lingo. I built a system for someone because of the long warranty. Today I'm not sure, it's likely that either they've been skimping on the quality and had to reduce their warranty to 3 years to keep from losing too much money or they had to reduce the warranty to 3 years anyway because their previous TUF boards were costing them too much to support.Anyway good job reviewing a board AT, I wish you'd return to regular reviews like this.
Ev3rM0r3 - Wednesday, December 6, 2017 - link
Here in the real world, all that armor on a motherboard is there ONLY for aesthetic reasons. Unless you are mounting it to an open air source but no one is going to do that. It clutters the board and probably adds in a 1/4 of the cost of the entire motherboard. I'd say just include a disk with 3d printable shielding for looks IF I wanted to have it, and then just not put anything on the board. Starting too look like cars with plastic engine covers; those are useless too.Hurr Durr - Wednesday, December 6, 2017 - link
Can these faux-shield things be removed? I doubt having them provides any practical benefit.DanNeely - Wednesday, December 6, 2017 - link
The easiest way is probably an equivalently specced board without them. They're the TUF line's main marketing gimmic.Joe Shields - Friday, December 8, 2017 - link
Yes. But if you do not want them, you can get the less expensive variant without it or a different board.JackNSally - Thursday, December 7, 2017 - link
Honest question. Can you get a higher performance cooler to really push the CPU and therefore the boards VRM's for overclocking features?Joe Shields - Friday, December 8, 2017 - link
The cooler isn't really the issue. We can put this under a custom loop, but the temperature improvement would only yield perhaps another 100 MHz or so. Delidding and going bigger would be a better way to do this.